Hi all,
Today I wanna talk about the progress I have made for my medieval boat. After finishing the boat model, I decided to get the small parts modeled for the wings and other details.
Creating Small Elements
I started by modeling two types of gears that will extend the wings and tail that will be attached to the boat. There also be a piece on top of the boat that will resemble a scale of a fish. For this, I simply created a cube and sliced in multiple places to give the shape I wanted. Then I created a cylinder to be the piece that would attach two gears with the wings.
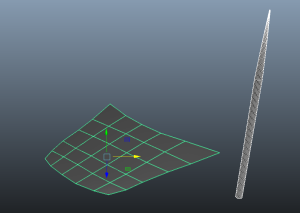
After putting these together then I moved on to create longer cylinders, that will be attached to the gear mechanism and will hold the wings cloth together. In order to create the cloth I used a cube with multiple subdivisions. These subdivisions helped me give the clothes the shape I wanted!
Putting parts together
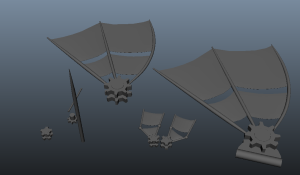
With the cloth and sticks modeled, then I put them together to create one of the wing model that will be attached to the left and right side of the boat. I also created the crest that will go on top of a metal compartment of the boat, and the only difference is that I curved one of the sticks to give it a better shape to it.
I created two different types of structures that would work as the crest, wings and tail of the boat! All I had to do in the end was to combine the multiple pieces I created and add a few details here and there such as a paddle like piece that goes attached to the wing. This part will be the one that attaches the wing to the boat, and will be the one moving when the animation is done.
In my next post, I will talk about the pieces that will cover the boat model and what I used in order to create them! 🙂
Until next time!


0 thoughts on “Multi-Component Vehicle Model: Modeling the wings”